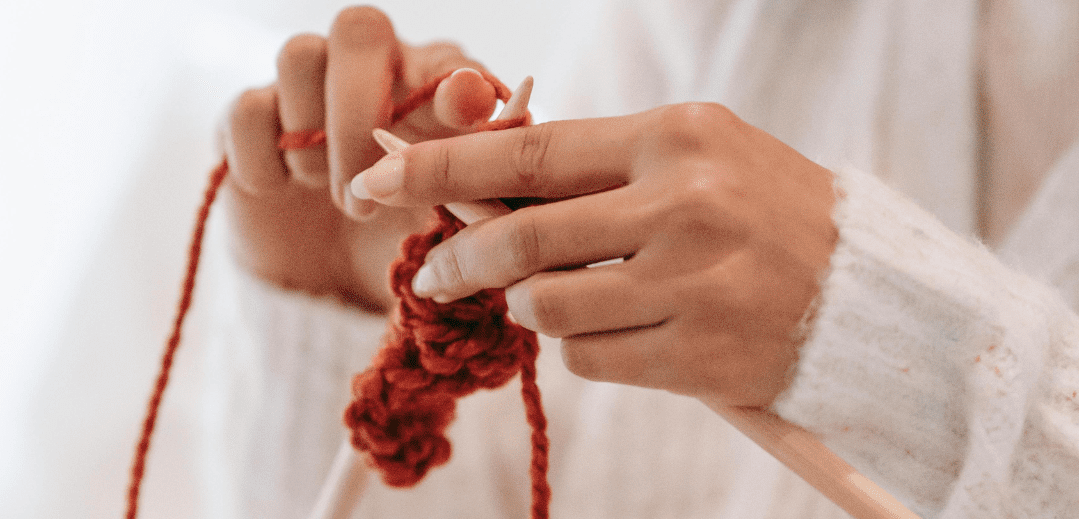
How to bind off knitting is one of the most important skills you’ll learn as a beginner. It’s the step that finishes your project and secures all your stitches so they don’t unravel.
Many new knitters feel nervous about this part but once you try it, you’ll realize it’s much simpler than it looks. Let’s walk through everything you need to know to bind off with confidence.
What Does It Mean to Bind Off in Knitting?
Binding off also called casting off is the process of removing your stitches from the needle in a way that creates a finished, secure edge. It’s the last step of almost every knitting project.
Without binding off correctly, your stitches would simply slide off the needle and unravel. A proper bind off keeps everything in place and gives your work a clean, polished look that’s ready to wear or gift.
When Do You Need to Bind Off?
You bind off when your piece has reached the desired length or when a pattern instructs you to. For a simple scarf, that means when it’s as long as you want it. For a hat or sweater, the pattern will tell you exactly when to stop.
Some projects also require partial bind offs for example, shaping the neckline of a sweater or armholes on a vest. But as a beginner, you’ll mostly be doing a full bind off at the end of a straight piece.
The Standard Bind Off: Step by Step
The most common method is the standard bind off, and it’s the one every beginner should learn first. It works on any project and uses nothing but your needles and the yarn already attached to your work.
Here’s how it works: knit two stitches, then use your left needle to lift the first stitch over the second and off the needle. Knit one more stitch and repeat the process across the row until one stitch remains. Cut your yarn, pull the tail through the last stitch, and pull snug.
How to Keep Your Bind Off from Being Too Tight
One of the most common bind off problems beginners face is a cast-off edge that’s too tight. It puckers the fabric and can make garments uncomfortable to wear, especially around necklines and cuffs.
The easiest fix is to use a needle one or two sizes larger than the one you’ve been knitting with for the bind off row only. This loosens your tension naturally and gives the edge a nice, even stretch without any extra effort.
The Stretchy Bind Off for Ribbing and Cuffs
If you’re finishing a project with ribbing like the cuff of a hat or the hem of a sweater the standard bind off can sometimes feel too stiff. In that case, a stretchy bind off is a much better choice.
One popular option is the k2tog bind off, where you knit two stitches together through the back loop before placing them back on the left needle. It sounds complicated, but it’s really just a small tweak that makes a big difference in how the finished edge feels and stretches.
How to Weave in Your Ends After Binding Off
Once you’ve bound off, you’ll have a yarn tail that needs to be secured. This is called weaving in your ends, and it’s what gives your project that truly finished look.
Thread the tail onto a blunt tapestry needle and weave it in and out of the stitches on the back of your work for about two inches. Then reverse direction and weave back the other way. This locks the yarn in place so it won’t come loose over time, even after washing.
Common Bind Off Mistakes and How to Fix Them
Even experienced knitters occasionally make mistakes when binding off. The most common ones are binding off too tightly, accidentally skipping a stitch, or ending up with a loose, loopy last stitch.
If you’re running into these issues regularly, it helps to slow down and work deliberately through each stitch. For a full breakdown of the most frequent knitting mistakes beginners make, this guide has you covered: Common Knitting Mistakes Beginners Make and How to Fix Them.
Bind Off Tips for Specific Projects
Different projects sometimes call for slightly different approaches. A bind off for a scarf doesn’t need to be stretchy, but a bind off for a sock or hat absolutely does. Always read your pattern notes before you start the final row.
If your pattern doesn’t specify a method, the standard bind off works beautifully for most flat projects. For anything that needs to stretch like necklines, cuffs, or the top of a hat go with a stretchy version to get the best result.
Practice Your Bind Off Before the Real Thing
The best way to feel confident about binding off is to practice on a small swatch first. Cast on about 15 to 20 stitches, knit a few rows, and then practice your bind off without worrying about ruining a real project.
Before you get to the bind off, you’ll of course need to know how to cast on. The long tail cast on is one of the most popular methods and creates a beautiful, stretchy starting edge: Knitting Cast On – Long Tail Complete Guide.
Now You’re Ready to Finish Every Project with Confidence
Learning how to bind off knitting is the final piece of the beginner puzzle. Once you can cast on, knit your stitches, and bind off cleanly, you have everything you need to complete real projects from start to finish.
If you still want to brush up on the stitches that come before the bind off, this tutorial is a great resource: How to Knit for Beginners – Learn the 3 Essential Stitches Today. And for the full beginner overview, don’t miss the complete guide on Knitting for Beginners.
Every great knitted piece ends with a clean bind off. Now you know exactly how to do it. 🧶